
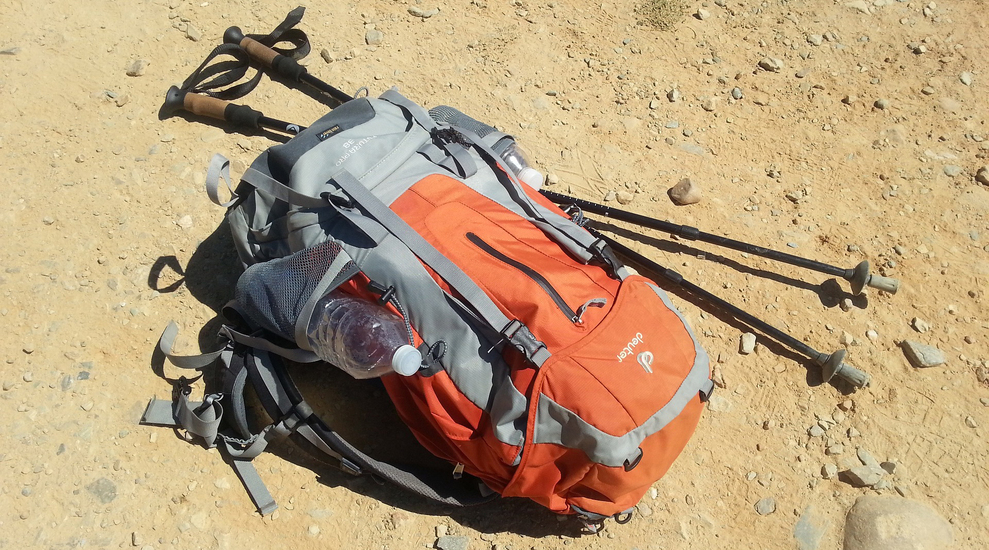
You have invested in good gear, so you already know that taking care of it is worth the trouble. To protect your backpack investment, it’s important to follow some basic procedures.
High end back packs are usually made with fabrics and manufacturing processes designed to last through various weather conditions, being stretched to the hilt, and getting moderately dirty.
It is easy for a well-meaning adventurer to actually do more harm than good with overzealous cleaning when it comes to backpacks. Cleaning too often, over scrubbing, or even using the wrong detergents, can actually take away from the life of your backpack.
This guide offers step by step instructions and plenty of pro-tips for how to clean your pack, including knowing when the time is right for a deep clean.
CLEAN AS YOU GO
If you have worked in the restaurant industry, here is something you already know: Cleaning as you go saves time and energy over the long run. Taking a few minutes to clean a spill right when it happens saves time over the life of your backpack.
Then again…that sounds like work and this is vacation time! There really are only a few cases where making time to clean your pack on the trail makes sense:
You spilled food or drinks on it and are concerned about attracting critters.
Fuel or other caustic liquid spilled in/on your pack.
Something foul smelling, like animal urine, found its way onto your gear. (Pro-tip: Look before setting your pack down.)
WHICH SOAPS TO USE TO WASH A BACKPACK
Most high-end backpacks for outdoor adventure use special fabrics that are specially made with water resistant treatments. Detergents used to wash regular clothing can strip these fabrics and ultimately destroy your gear.
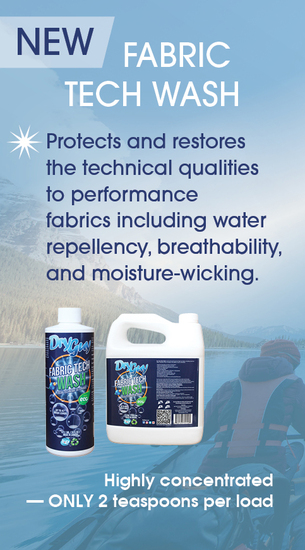
Most manufacturers include instructions on what products are safe to use with their gear. That is your first place to check for finding the appropriate cleaning agents. Most backpacks are compatible with mild unscented castile soap or specially formulated waterproofing cleansers such as Nikwax.
The upshot of plain castile soap is that it is pretty cheap, and this is probably what you want for a spot clean on a spill, even an annual deep wash if you are meticulous about seasonal cleaning. It is also biodegradable and non-toxic so you may already be packing a pure castile bar for cleaning on your trip in the event of a spill.
However, over time water resistant fabrics will lose their water repelling properties with normal wear and tear. If water isn’t beading up on the fabric when you pour water over it, then this is when it is time for the more expensive waterproofing cleaners.

DON’T OVER-DO IT
Unless you are prepared to replace your gear every year, deep cleaning your backpack after every trip is not only a waste of time and energy, it is needlessly wearing out the material and seams. You might have to just rein in those OCD urges and let a little ambiance from the last trek join you on the next if you want your gear to last.
There are two different cleaning methods to master: A basic quick clean after each trip, and the annual (and maybe even semi-annual) deep cleaning ritual.
HOW TO WASH A BACKPACK: POST TRIP BASIC
#1 Empty all the pockets and vacuum them out.
The seams of your pack are the most vulnerable part of the construction. Dirt and grit settle into the seams at the bottoms of the pockets and the fastest and most thorough method to get it out is your trusty vacuum cleaner. The bevel edged attachment works best.
#2 Vacuum the zippers.
While you have the vacuum out go ahead and get those zippers too. Even fine particles of dust can gum up zippers. They are a vulnerable and necessary part of your pack so give them the attention they deserve.
#3 Use a slightly damp sponge or cloth (without any soap) inside the pockets and the exterior of the bag.
This is a quick wipe down just to pick up any remaining dust and dirt. Take a little extra time at the seams but don’t make this into a huge deal. It is a ten-minute job.
#4 Spot clean with mildly soapy water and a soft toothbrush for spills or stains, if necessary.
If you have any places that need special attention, just spot clean them. Be wary of over scrubbing, and use a soft brush or a rag. Rinse with a wet cloth.
#5 If your backpack got soaked with sweat from a long hike, rinse the back-panel.
You don’t really want to put away a pack that got soaked in sweat because the salt in your sweat can be mildly corrosive on the fabric. Since salt dissolves easily in water, just use a shower attachment or the sprayer on your kitchen sink to thoroughly rinse the back-panel area (and possibly the shoulder straps) with warm water.
#6 Hang dry, upside down.
If you wash your backpack and then store it with even a little moisture, you can expect to pull out a musty or moldy pack the next time you are getting ready for a trip. Don’t cheat this step. Also, never put your backpack in the dryer or near a heat source. This will destroy the waterproofing treatment and potentially damage the pack.
#7 Wipe down any items you store in your backpack before you put them back in.
You just spent all this time getting your backpack clean, don’t forget to just do a quick wipe down of anything you store in your pack until the next trip. Things like the first aid kit and emergency water purification supplies should be checked to see if they need to be restocked before putting them back in your pack and forgetting about them.
HOW TO WASH A BACKPACK: THE ANNUAL DEEP CLEAN
I already mentioned this but it bears repeating: Do not deep clean your backpack more than necessary!
If you only go on a few short trips a year, you can probably skip the deep clean for a few years. If you are out for weeks at a time or have several trips a year it might be a different story.
It is time for a deep clean when:
- Your backpack stinks and a few hours airing in the sun doesn’t fix it.
- A fuel leak or other major spill can’t be spot cleaned away.
- It’s been a while, and your bored, and you feel like today is the day to putz around with gear for a few hours.
#1 Empty and vacuum.
Start with the same steps as the basic cleaning. Vacuuming gets dry grit out way easier than once it is wet. Don’t forget the zippers.
#2 Fill the tub with about 6-8 inches of warm water and 1 cup of pure liquid castile soap, unscented.
This is a pretty dilute mix, which is perfect. Never use detergents on your backpack.
#3 Remove the shoulder straps, belts and frame.
Gently scrub and wipe the straps and belts with a sponge with the tub water. (Don’t use a sponge that has a scratchy pad!) Then rinse thoroughly before moving on. Don’t let the straps soak in water.
#4 Spot clean any spill areas on your backpack first.
If there are areas that are in need of serious attention, you can get them with a soft toothbrush or a washcloth. It’s okay to use a more concentrated castile soap mix on these areas, you can mix that in a bowl for spot cleaning.
#5 Dunk and vigorously “swish” your backpack in the tub.
Swish is a technical term. You know what I mean. Use a sponge on the insides of pockets and the interior main cavity of your pack. Swish more.
#6 Empty the tub, fill with clean cool water, more swishing, repeat.
You should be good at swishing at this point. You know your swishing is over when the water stays clean after vigorous swishing, or two rounds of clean water.
#7 Hang upside down to dry thoroughly, preferably in the sun.
You already know from your basic cleaning that you must never put away your pack while wet. However, when you do a thorough soak, it can take hours to get fully dry. The advantage to hanging on a line in the sun is that UV rays do have some anti-bacterial properties which can help with odor. Once you think your pack is dry, then dry for at least another few hours.
#8 Treat the zippers.
Zippers need to be lubricated for optimal efficiency. After a deep clean you need to do this before storing your backpack since the deep clean probably stripped them. Different manufacturers recommend different products for lubricating their specific zippers, so check there first.

HOW TO WASH A BACKPACK: MACHINE WASHING
Your backpack probably has a care label that will tell you if it is safe to machine wash, or you can check the manufacturers website. Even if you can, in theory, machine wash your backpack, you are likely going to get more life out of it if you hand wash it.
If you are lazy or rushed (Your just rushed, I hear ya!) the machine wash may be right for you as long as your pack is machine washer safe. Follow these tips:
- Machine washing counts as deep cleaning, which means it is not necessary after every trip.
- Put your backpack in a laundry bag or extra-large pillow case that you tie shut.
- The best washers for washing your pack are the extra-large front-load ones at the laundry mat. Top-load home washers are really not ideal for two reasons: 1. They are likely to start bouncing around during the spin cycle and 2. They use an agitator adding wear and tear to your gear.
- Do not use regular detergent which can destroy water resistant coatings. Use gentle soaps like unscented castile soap, or specially formulated weatherproofing cleaning products.
- Wash on the “gentle” or “delicate” cycle, use cold water, and do an extra rinse cycle.
- Air dry your bag on a line in the sun, fully. Never put your backpack in the dryer.
- Lubricate your zippers with a product recommended by your manufacturer after any deep clean.


Comments